用root用户登录到PVE的SSH状态下,敲以下命令 :
给Proxmox VE 5/6(PVE)添加RTL 8125芯片2.5G的USB网卡驱动教程
用root用户登录到PVE的SSH状态下,敲以下命令 :
1、PVE安装git命令和相关的依赖
apt-get update
apt-get -y install git
2、下载驱动包及安装驱动脚本
git clone https://github.com/tubaxiaosiji/RTL8125-Driver-for-Proxmox-VE.git
3、切换到驱动目录
cd ./RTL8125-Driver-for-Proxmox-VE
4、给安装驱动脚本赋予运行权限
chmod a+x rtl8125_install.sh
5、运行安装驱动的脚本
bash rtl8125_install.sh
6、等待一会直到安装完成…
7、检查驱动是否安装正确加载(出现 r8125字样即安装成功)
lsmod | grep 'r8125'
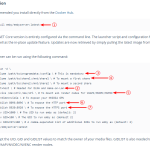
8、如果出现 modprobe: ERROR: could not insert r8125: Invalid argument,请重启PVE,然后再运行一遍安装脚本。
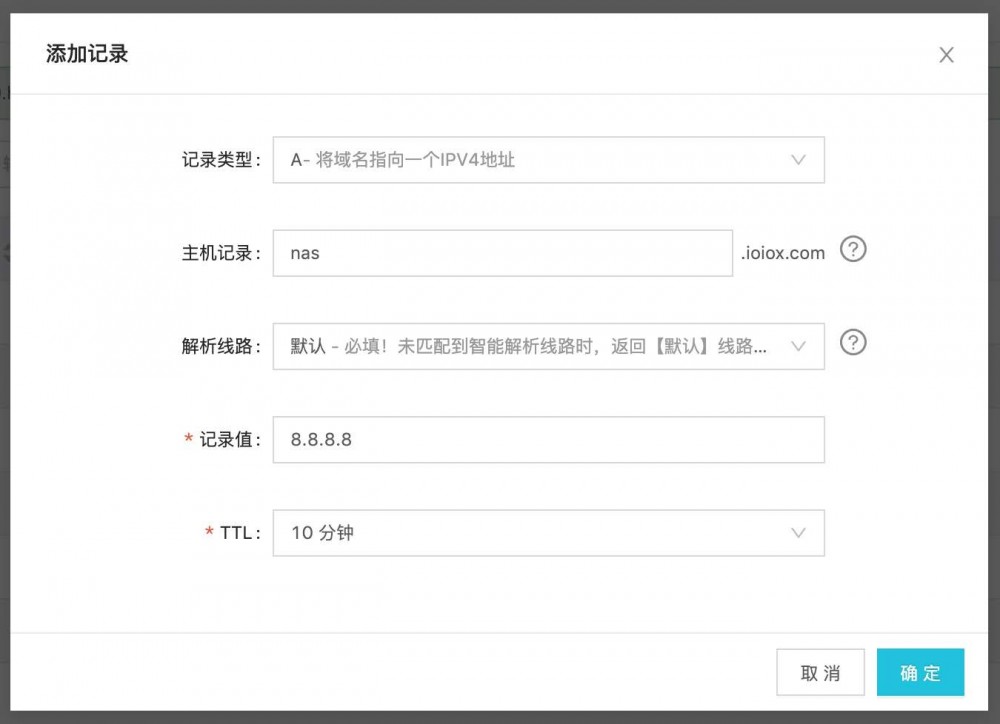
下图片为网友通过PVE安装2.5G的USB网卡后添加给群晖的设置图,以及群晖内网复制文件的速度测试。

Github项目地址:https://github.com/tubaxiaosiji/RTL8125-Driver-for-Proxmox-VE5-6-and-debian
本文摘自:https://wp.gxnas.com/10328.html,感谢原作者
© 版权声明
文章版权归作者所有,未经允许请勿转载。
THE END