
前言
本文将详解在CentOS 7 上安装配置frp服务器端的教程.
frp 是一个可用于内网穿透的高性能的反向代理应用,支持 tcp, udp 协议,为 http 和 https 应用协议提供了额外的能力,且尝试性支持了点对点穿透。
本文为 Stille 原创文章.经实践,测试,整理发布.如需转载请联系作者获得授权,并注明转载地址.
服务端frps安装
一键安装卸载脚本
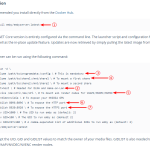
安装脚本
wget https://raw.githubusercontent.com/stilleshan/frps/master/frps_linux_install.sh && chmod +x frps_linux_install.sh && ./frps_linux_install.sh卸载脚本
wget https://raw.githubusercontent.com/stilleshan/frps/master/frps_linux_uninstall.sh && chmod +x frps_linux_uninstall.sh && ./frps_linux_uninstall.sh如现有服务器上已存在 frps 服务,请先运行卸载脚本,在运行安装脚本.安装完成后配置
frps.ini并重启服务.
vi /usr/local/frp/frps.ini # 修改 frps.ini 配置 sudo systemctl restart frps # 重启 frps 服务即可生效配置参考
[common] bind_addr = 0.0.0.0 bind_port = 7000 bind_udp_port = 7001 kcp_bind_port = 7000 vhost_http_port = 80 vhost_https_port = 443 dashboard_addr = 0.0.0.0 dashboard_port = 7500 dashboard_user = admin dashboard_pwd = admin # 这里设置为管理面板配置的密码 log_file = ./frps.log log_level = info log_max_days = 3 disable_log_color = false token = 12345678 # 这里设置为客户端配置的token allow_ports = 2000-3000,3001,3003,4000-50000 max_pool_count = 5 max_ports_per_client = 0 subdomain_host = frps.com tcp_mux = true使用systemctl命令来控制frps
sudo systemctl start frps # 启动frps sudo systemctl enable frps # 服务器开机自动启动frps sudo systemctl status frps # 查看状态 sudo systemctl restart frps # 重启frps sudo systemctl stop frps # 停止frps检查服务器端安装情况
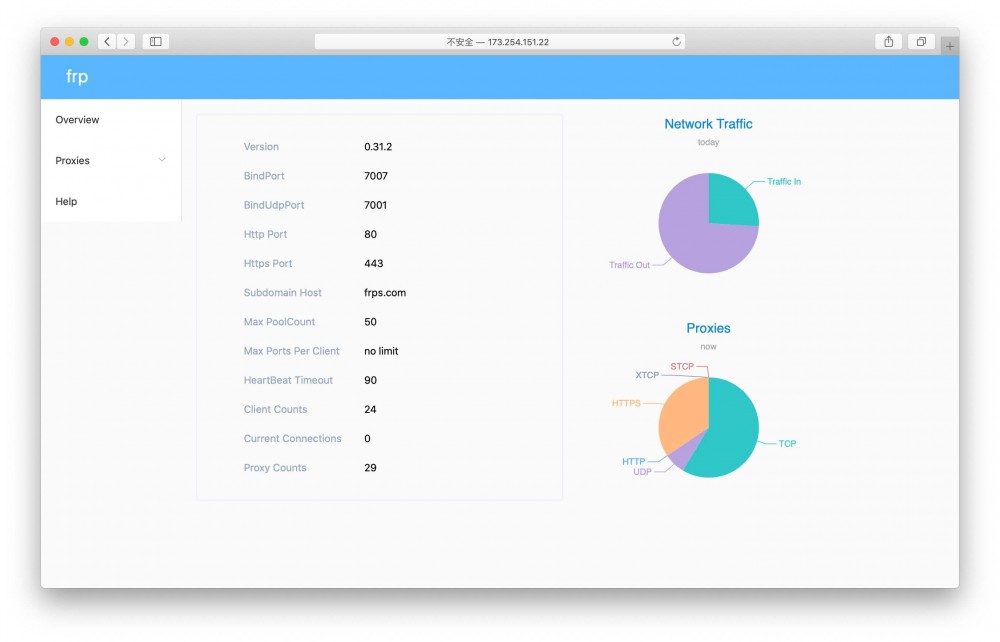
输入
http://服务器IP:7500来查看 frps 服务状态
客户端 frpc 安装教程汇总
展开阅读
frp 客户端 frpc 支持
群晖NAS,
群晖NAS docker,
Linux服务器或
虚拟机,
OpenWrt路由器,
梅林固件路由器等多种平台和环境安装部署.
群晖NAS docker安装
群晖NAS 一键脚本安装
内网 Linux 服务器或虚拟机 一键脚本安装
参考 stilleshan/frpc 项目中的一键脚本安装命令
内网 Linux 服务器 docker
参考 stilleshan/frpc 项目中的 Linux 服务器 docker 安装
梅林固件路由器安装
结语
更多FRP内网穿透相关技巧,教程及信息,请持续关注本站FRP内网穿透专栏:
本站提供免费和付费的技术支持.你可以通过留言,邮件,TG群的方式来技术交流和免费咨询.同时也可以付费支持的方式获得相关的技术支持,项目部署配置等服务.具体相关详情请点击查看 技术支持页面
© 版权声明
文章版权归作者所有,未经允许请勿转载。
THE END